Working with Shapes and Text
Text and shapes have a solid relationship in Artisan 5 (pun intended). Both are flexible and can be placed inside one another.
- Text can be placed inside a shape on your page:
- Shapes or images can be placed inside text on your page:


How to Place an Image Inside Text
To place an image inside text, follow these steps:
- Open the target page in your workspace.
- Select the Insert ribbon and click
 .
.
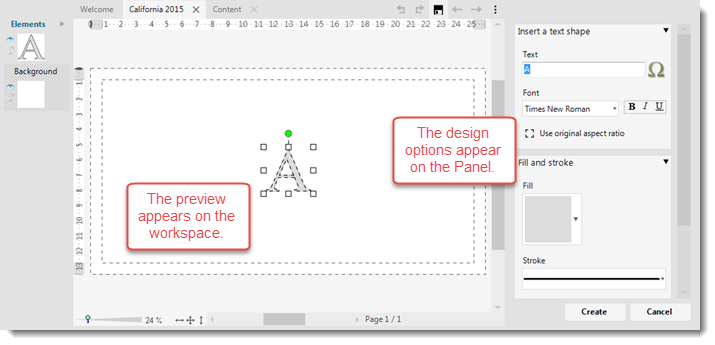
The shape options open on the panel to the right of your workspace.
- Click the Text Box on the right panel and type the desired text.
The preview on the workspace displays the typed text.
- Click the Font drop-down box and scroll and select a font.
The font is applied to the preview text.
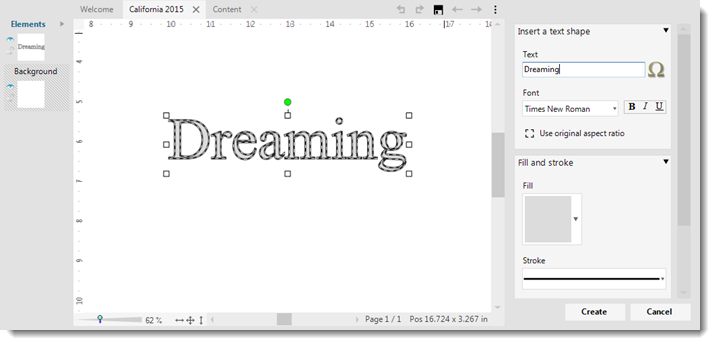
Note: You can apply bold, italics or underline formats to any font.
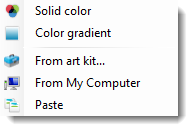
- Click the Fill drop-down box, and choose a fill type from the list.

|
Fill |
Description |
|---|---|
| Solid Color | Allows you to choose a solid color from the Color Picker (see Using the Color Picker for more information). |
| Gradient Color | Allows you to choose colors to blend as they fill (see Working with Colors and Fills for more information). |
| From Art Kit | Allows you to choose an element or paper from one of your art kits to fill the text (see Working with Colors and Fills for more information). |
| From My Computer | Allows you to choose an image or photo from your computer to fill the text.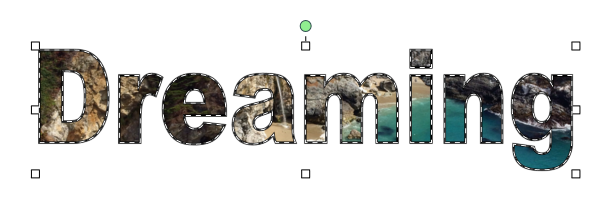 |
| Paste | Allows you to paste an image that you copied onto the Windows Clipboard. |
Note: When choosing an image or photo From Art Kit or From My Computer, you will be prompted with the Cutting Board dialog box. Use the Cutting Board to move and size your text to frame the part of photo you want just so.
